Post Processing – Who Knew?
As a self-taught devotee of all things CAD related, I’m continually finding myself on a journey of discovery even though I’ve been dabbling in the ‘art’ of 3D rendering for well over a year now (trust me, it’s an art – my hair-pulling, feet stomping and sulking can vouch for that!!).
But I’ve stumbled upon something very important. I tend to ‘stumble’ upon things A LOT when I’m embarking on a little research and attempting to gain more understanding and knowledge when fine-tuning my 3D rendering capabilities.
Why, you ask? It’s simple: the name of the game is to produce clean, professional renders in as short a timeframe as possible. Interior Designers are a demanding bunch. They want those renders, like, yester-year people!!
So, there are little secrets that us, ‘3D Visualisers’ can do to tweak, cajole and tease (yes, I’m still referring to 3D rendering…rolls eyes), colours, shading, highlights, saturation and a whole other multitude of effects without having to go through the misery of test renders to try and perfect the look we’re after.
Dim lights and cue drum roll, please…looks left, then right and lowers voice to a whisper…
It’s called ‘post processing’ and it’s usually achieved by using Photoshop.
Cheeky? Yes. Darn right devious? Absolutely. But it works!
Let’s examine the evidence, shall we?
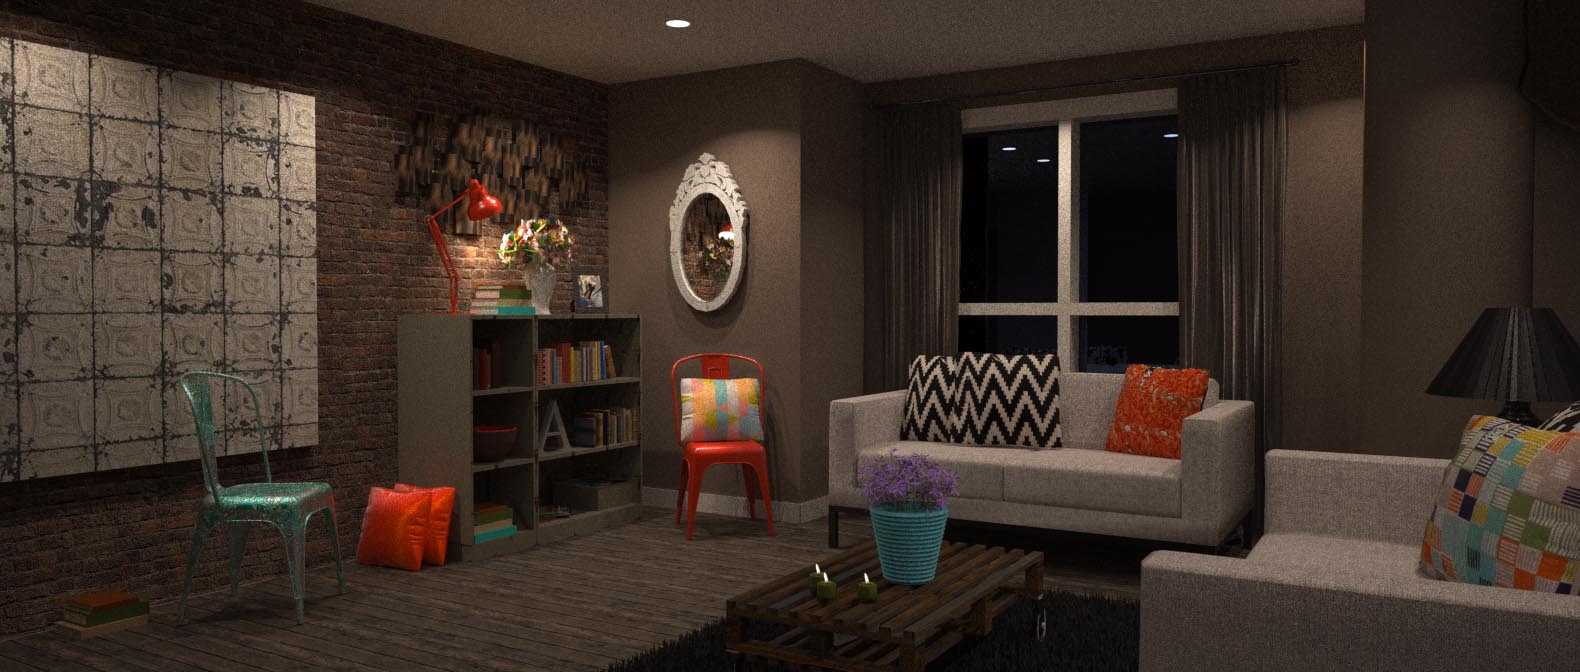
Here we have a very respectable render of a NY style city pad that I threw together in my lunch hour (I can dream, right?). Not too shabby.
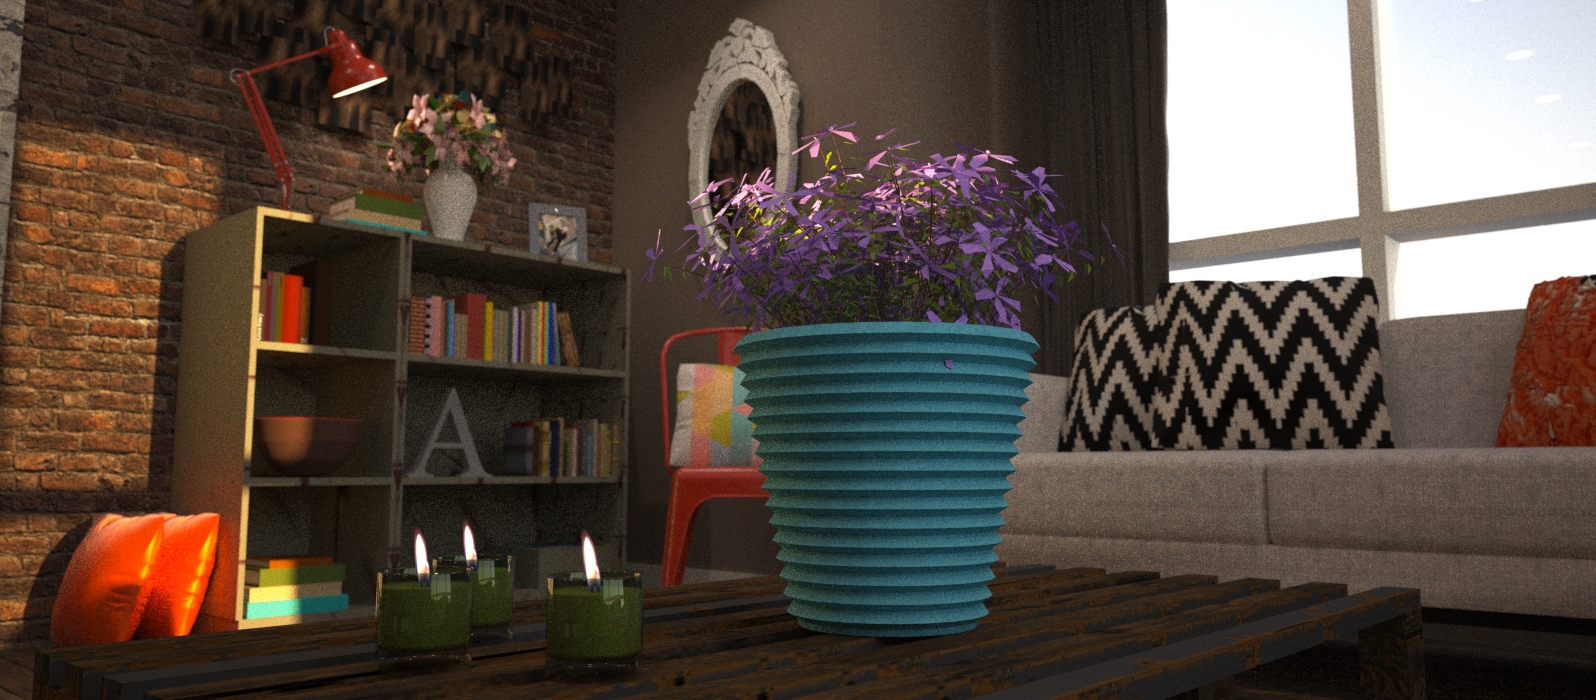
And here is the same rendered image but with a little TLC courtesy of Photoshop.
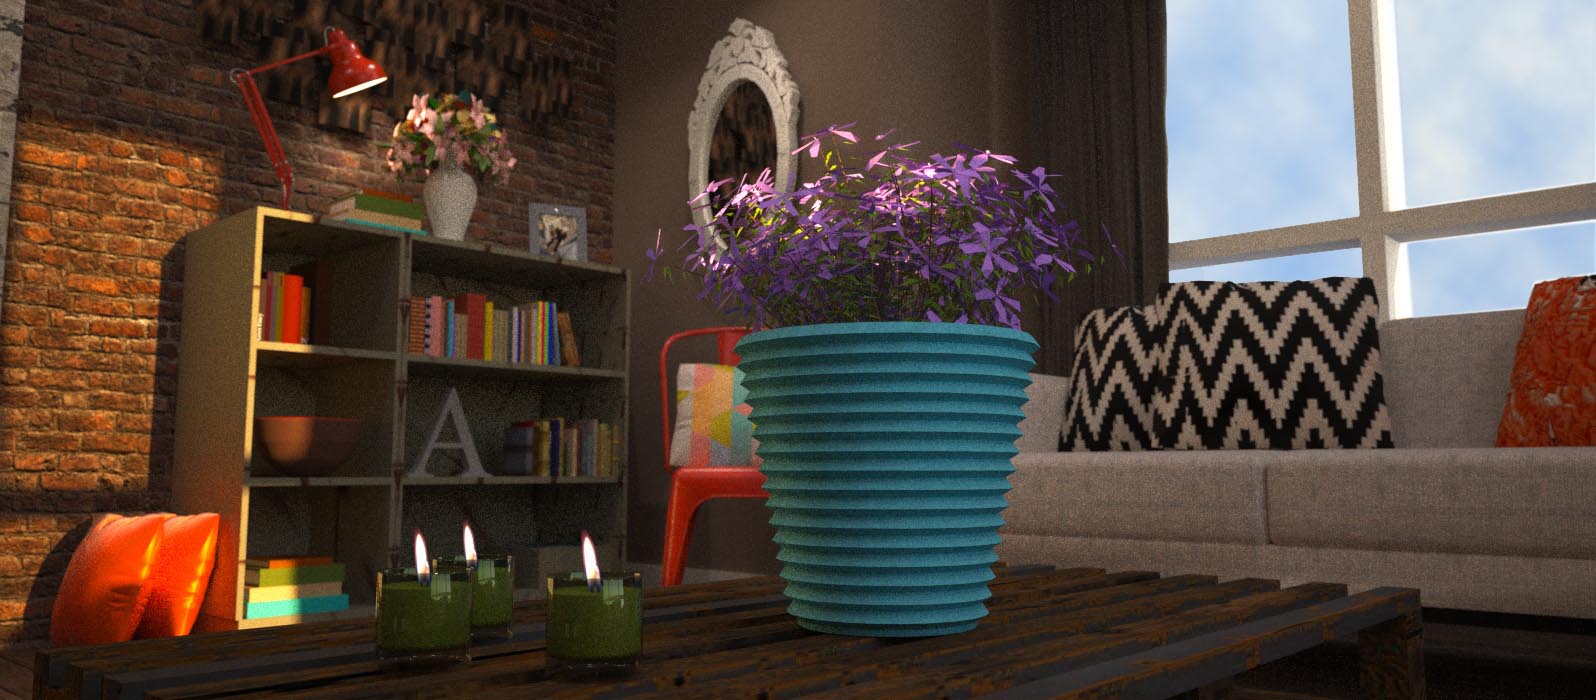
Ok, ok they’re not HUGE differences but they’re enough to draw the eye and provide a more crisp, pleasing scene. In the above image I did the following: adjusted overall saturation, emphasised the highlights on the Tolix chair, the blue flower pot, the coffee table, the mirror, the Anglepoise lamp, the section of wall where the light from the lamp is shining, the flowers (both); I added clouds and also increased the contrast on the section of wall where the sunlight is.
Oh and I also removed a petal that was sticking on the blue flower pot (GAH!!) and removed the reflection of the ceiling lights in the window.
Here are more comparisons, spot the difference:
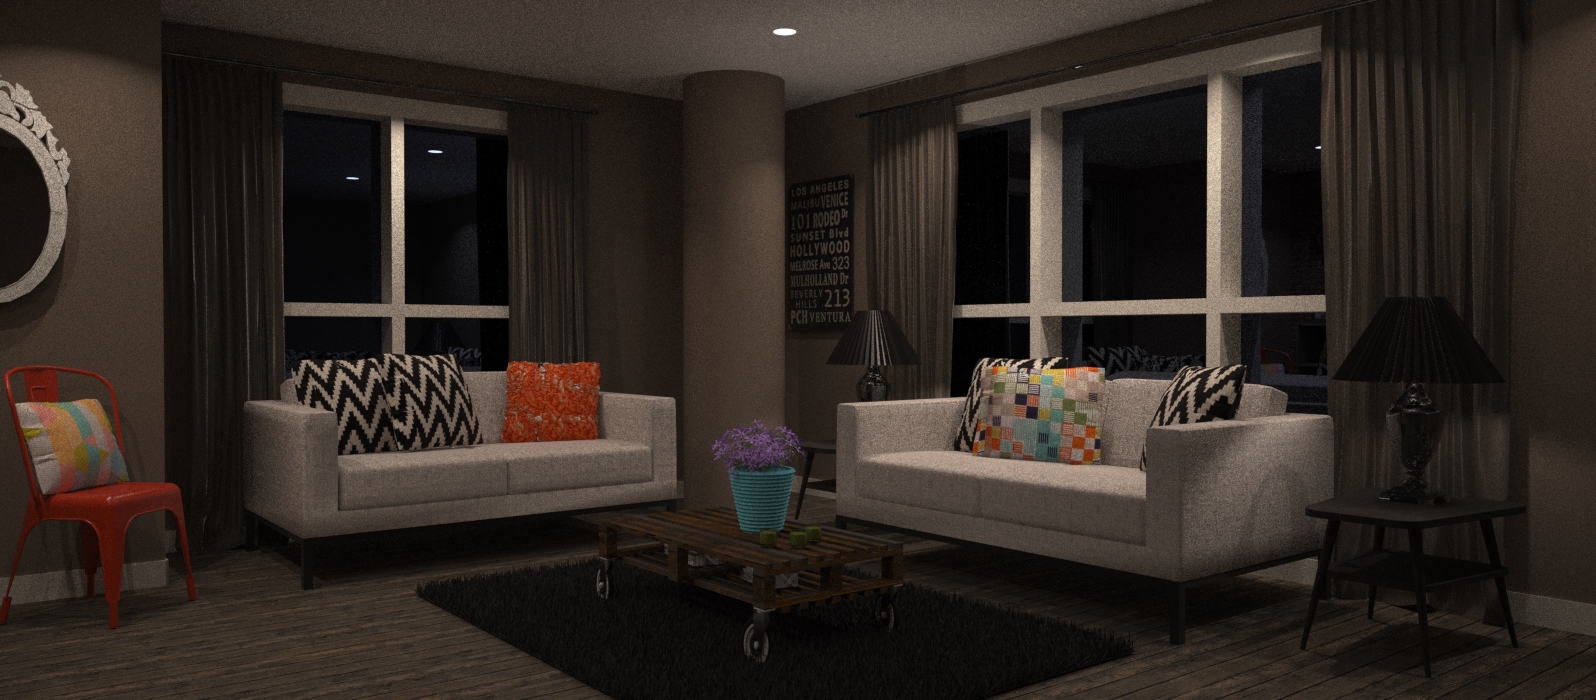
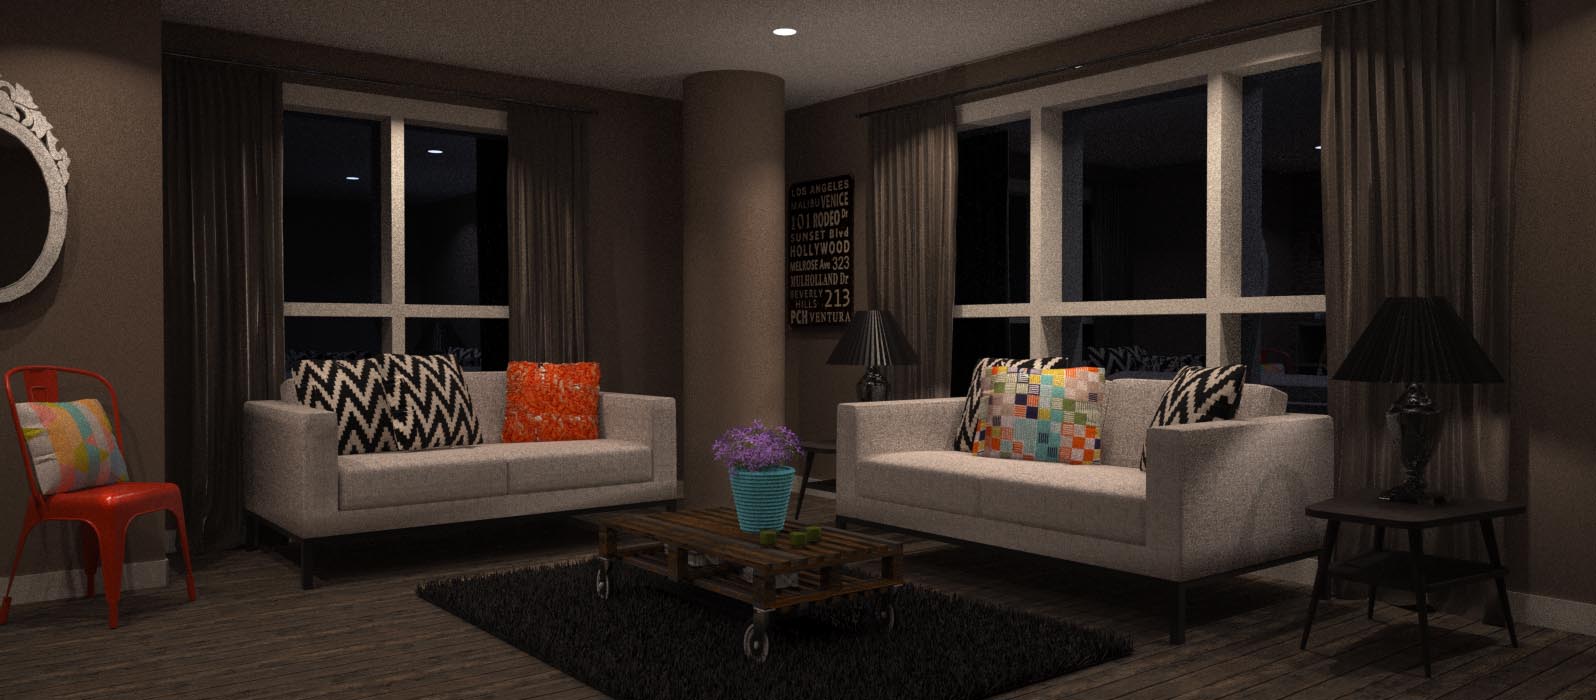
And more!

But I didn’t touch this one, I love it just the way it is 🙂


8 Comments
Incredible. I can’t get over how cool that program is.
LikeLike
Thanks, Adam 🙂
LikeLike
Hey Anita, yes, can definitely see a difference. I have stumbled across SU Podium which apparently is very quick, not sure yet though if the results are as good as Maxwell, as I am just trialling it at the moment. Do you reduce image size before rendering with Maxwell to avoid ‘crashes’? 🙂
LikeLike
Hi Melissa! Good to hear from you 😉 SU Podium is a good all-rounder but it wouldn’t provide the standard of photo-realism that Maxwell Render can produce. Let me know how you get on. I make the resolution fairly small because the larger the resolution, the longer the render time. And I mean A LOT longer. My resolution is usually set at 1596 x 700. This is grand for printing but for some reason when I upload the images onto here, when you click on the image it’s blown up so much that it loses clarity. Still haven’t worked out how to address that!! I use the full Photoshop software (CS2). You can download it for free via the Adobe website. Yes, I’m being serious!! If you check my posts on the VLS you’ll see a discussion that I started telling everyone about it 🙂
LikeLike
Could I ask Anita, do you use the student version of Photoshop?
LikeLike
Oh thanks Anita, that’s very helpful info re: Photoshop I didn’t see the posts on the VLS, I must have a look. Will let you know how I get on with SU Podium. :-))
LikeLike
nice design and render! what software do you use for produce this image?
LikeLike
Thanks! 🙂 I use Google SketchUp Pro for the 3D modelling and Maxwell Render for the photo-realistic renders.
LikeLike